Dotfiles on Makefile
1. はじめに
- この ditfilesは Debian Linux用です。masasam/dotfiles を参考に作成しました。
- dotfils本体は、GitHub に公開しています。
1.1. わたしの環境
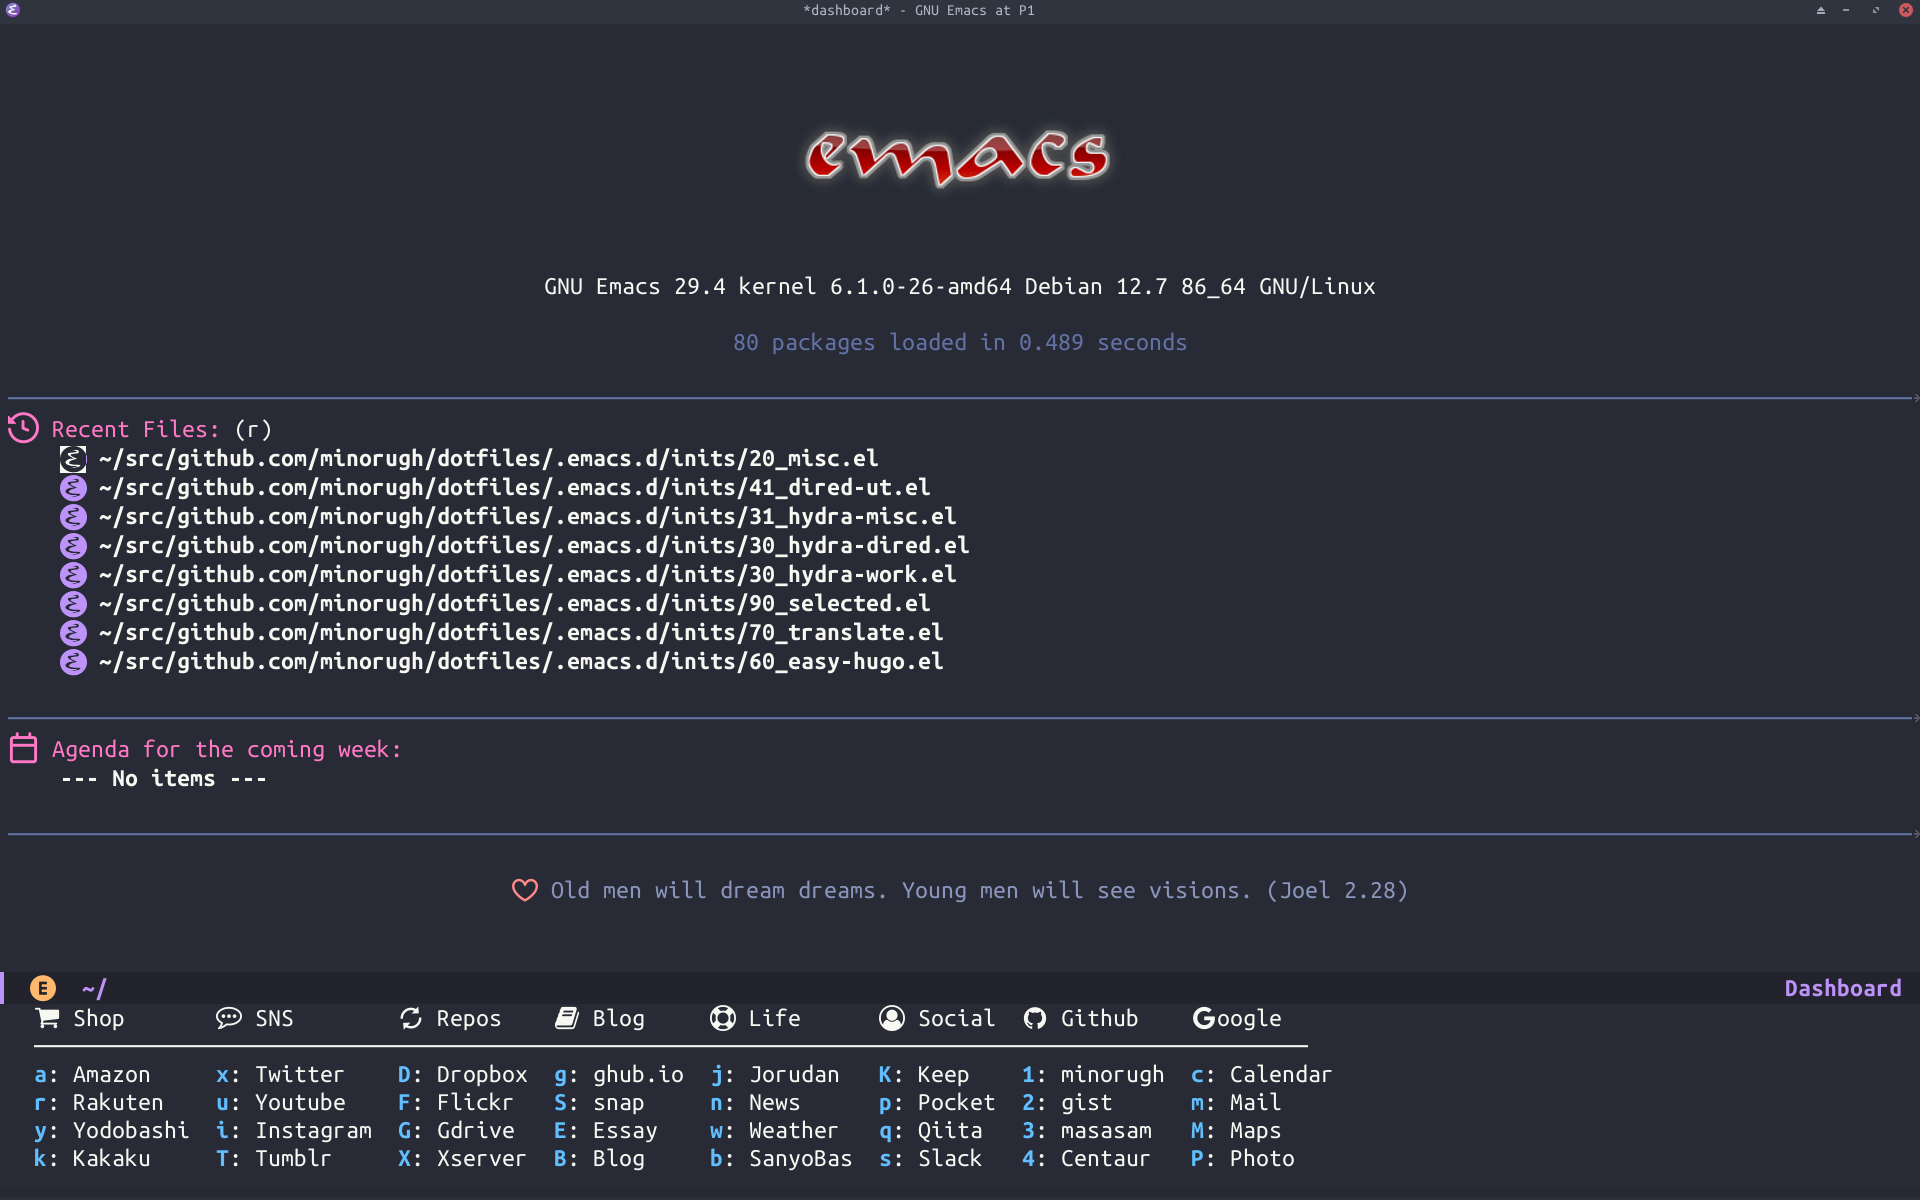
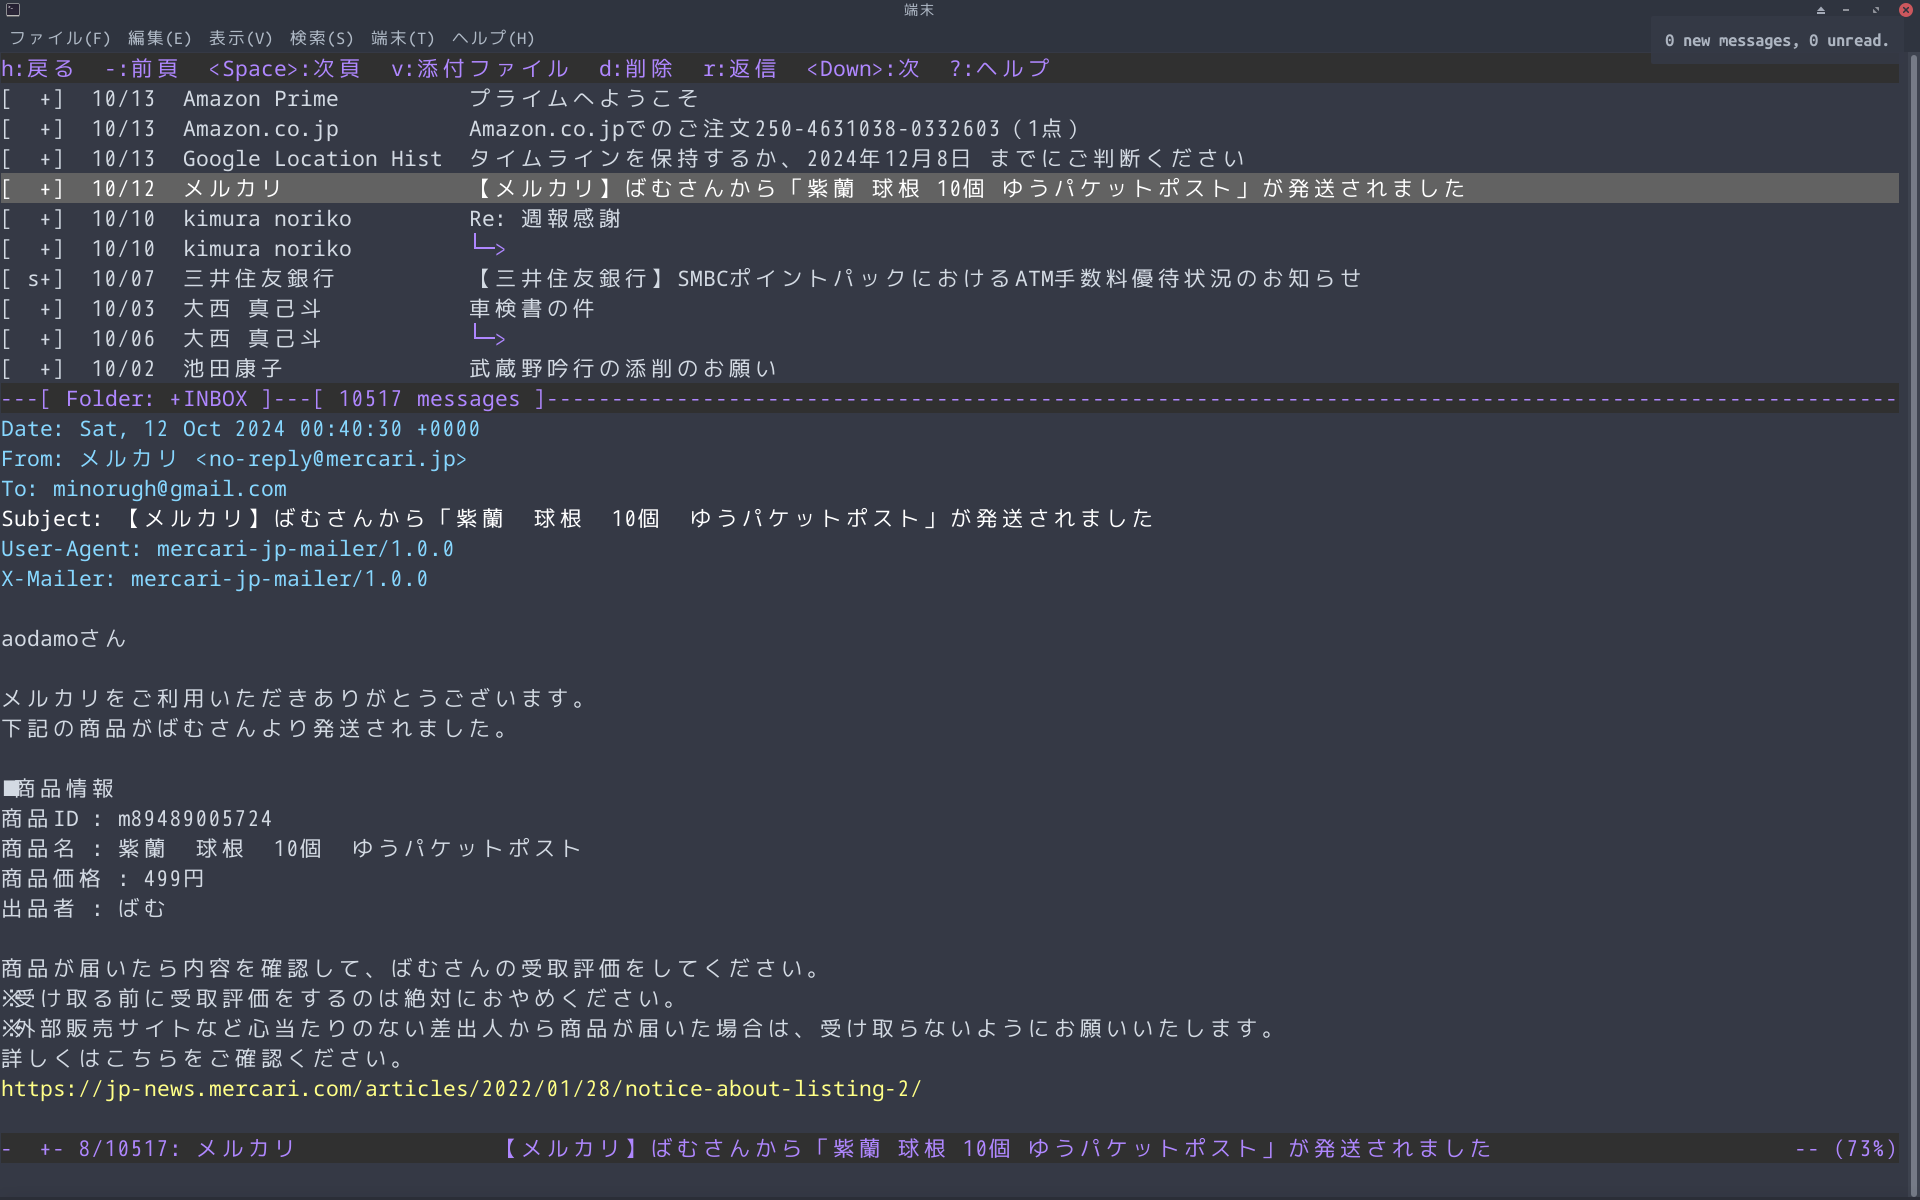
このドキュメントを参考に dotfilesを構築されるときに環境による差異が発生する可能性が高いので私の使っている環境を書いておきます。
- Debian 12.7 86_64 GNU/Linux
- ThinkPad P1 Gen1 i7/32GB/1TB
- ThinkPad X250 i5/16GB/500GB
- zsh 5.9
- vim 9.0
- GNU Emacs 29.4
1.2. dotfilesの構成
dotfilesの詳しい作り方は後述しますが、私の今の dotfilesは以下のような構成になっています。
~/src/github.com/minorugh/dotfiles
│
├── .abook/
├── .config/
├── .emacs.d/
├── .font/
├── .git/
├── .git-crypt/
├── .gnupg/
├── .local/
├── .mutt/
├── .vim/
├── .w3m/
├── bin/
├── devils/
├── etc/
├── tex/
├── .Xmodmap
├── .Xresources
├── .autologin.sh
├── .bashrc
├── .gitignore
├── .muttrc
├── .tmux.conf
├── .vimrce
├── .zprofile
├── .zshrc
├── Makefile
└── README.md
2. Makefile で環境を構築しよう
makeのないディストリビューションは存在しないので、 Makefileを 作れば、どのディストリビューションにも対応できます。 さっそく Makefileを 作ってみましょう。
2.1. Makefileを使うととても便利です
このコマンドで簡単に開発環境を構築できます。
make install
ノートパソコンのセッティングを再度心配する必要はなくなります。
2.2. dotfilesのデプロイはすぐにできます
make installの後、以下のコマンドでdotfilesをデプロイできます。
make init
2.3. Makefileを使えばいつもの環境を 1 時間で復旧できます
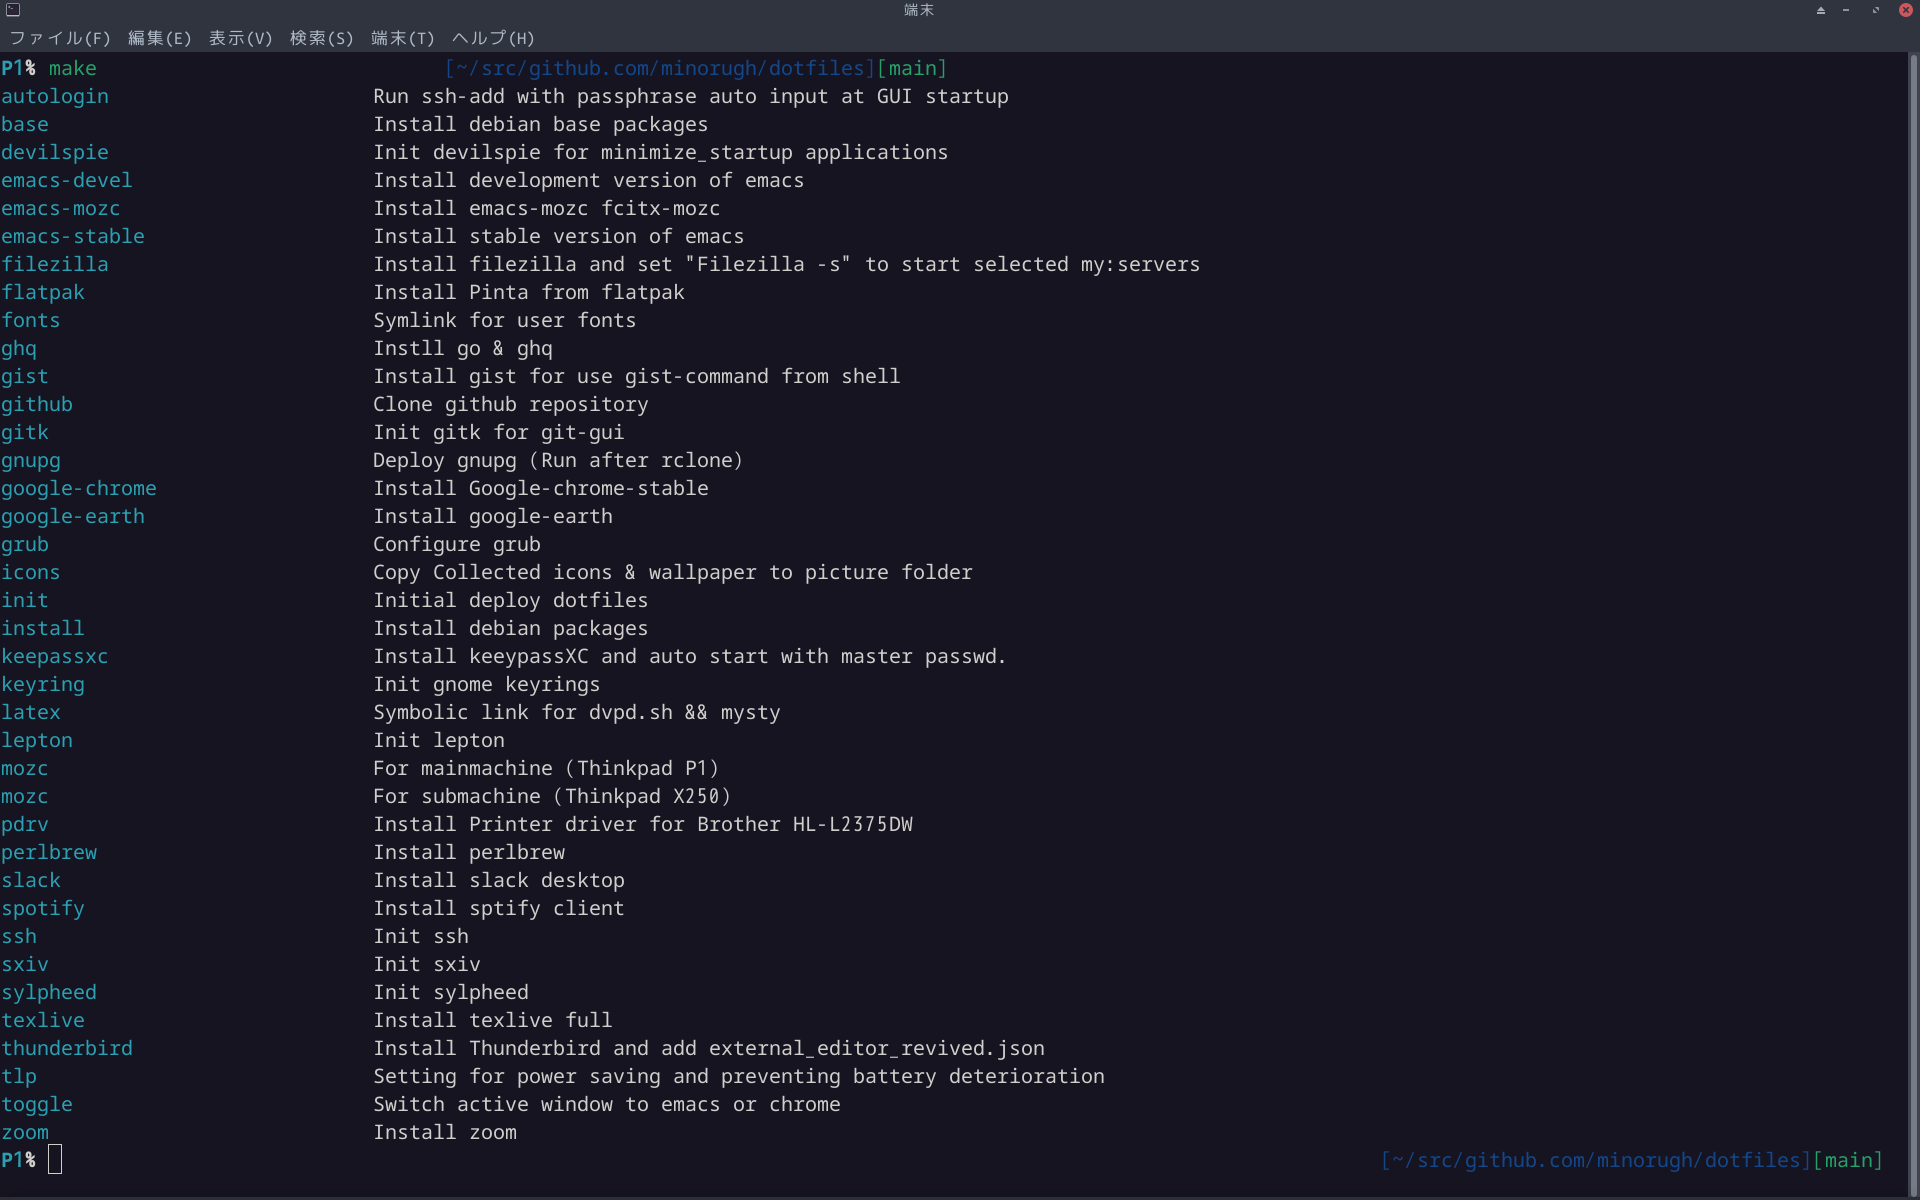
このMakefileの引数はこのコマンドで見ることができる。
make
2.4. allinstall のコマンド
make allinstall
このコマンドでallをインストールできます。
makefileのallinstallの後に書かれているものは何でもインストールできます。
make backup
The ArchLinux package list installed by this command is backed up in the archlinux directory.
make allbackup
You can backup packages all with this command.
make allupdate
You can update packages all with this command.
3. バックアップディレクトリをクラウドに同期
rclone setting
Synchronize the backup directory to your favorite cloud using the rclone.
rclone sync ${HOME}/backup drive:backup
rclone sync ${HOME}/backup dropbox:backup
Synchronize the ~/backup directory to your favorite cloud in this command. This command is a one-way synchronization to the cloud from your laptop or desktop. The following command is a one-way synchronization to your laptop or desktop from the cloud.
rclone sync drive:backup ${HOME}/backup
rclone sync dropbox:backup ${HOME}/backup
Since configuration file of rclone is encrypted with git-crypt, you install and set up git-crypt at first step. Backup directory sample is here.
3.1. git-cryptの使い方
git-crypt init
Set the name of the file you want to encrypt to .gitattributes
rclone.conf filter=git-crypt diff=git-crypt
Commit the .gitattributes to git.
git add .gitattributes
git commit -m 'Add encrypted file config'
Specify the key used to encrypt.
git-crypt add-gpg-user YOUR_GNUPG_ID
It is encrypted except in your laptop or desktop after you commit rclone.conf.
git-crypt unlock
After cloning a repository with encrypted files, unlock with gnupg at this command.
3.2. バックアップディレクトリが管理するものの基準
-
What can not be placed on github
scripts that password was written, etc.
-
Because it makes a lot of update file, it is troublesome to synchronize with github
.zsh_history .mozc
-
Those that can not be opened but need to protect data
Sylpheed configuration file and mail data etc.
4. Debian Linux のインストール
Why Arch linux?
-
Unless your laptop breaks, arch linux is a rolling release so you don't have to reinstall it. Even if it gets broken, I made a Makefile so I can return in 1 hour and it's unbeatable.
-
Arch linux is good because it is difficult for my development environment to be old packages.
-
I like customization but if customization is done too much, it is not good because it can not receive the benefit of the community. Since Arch linux is unsuitable for excessive customization, it is fit to me. In principle the package of Arch linux is a policy to build from the source of vanilla (Vanilla means that it does not apply its own patch for arch linux). It is good because Arch linux unique problems are unlikely.
-
Arch linux is lightweight because there is no extra thing.

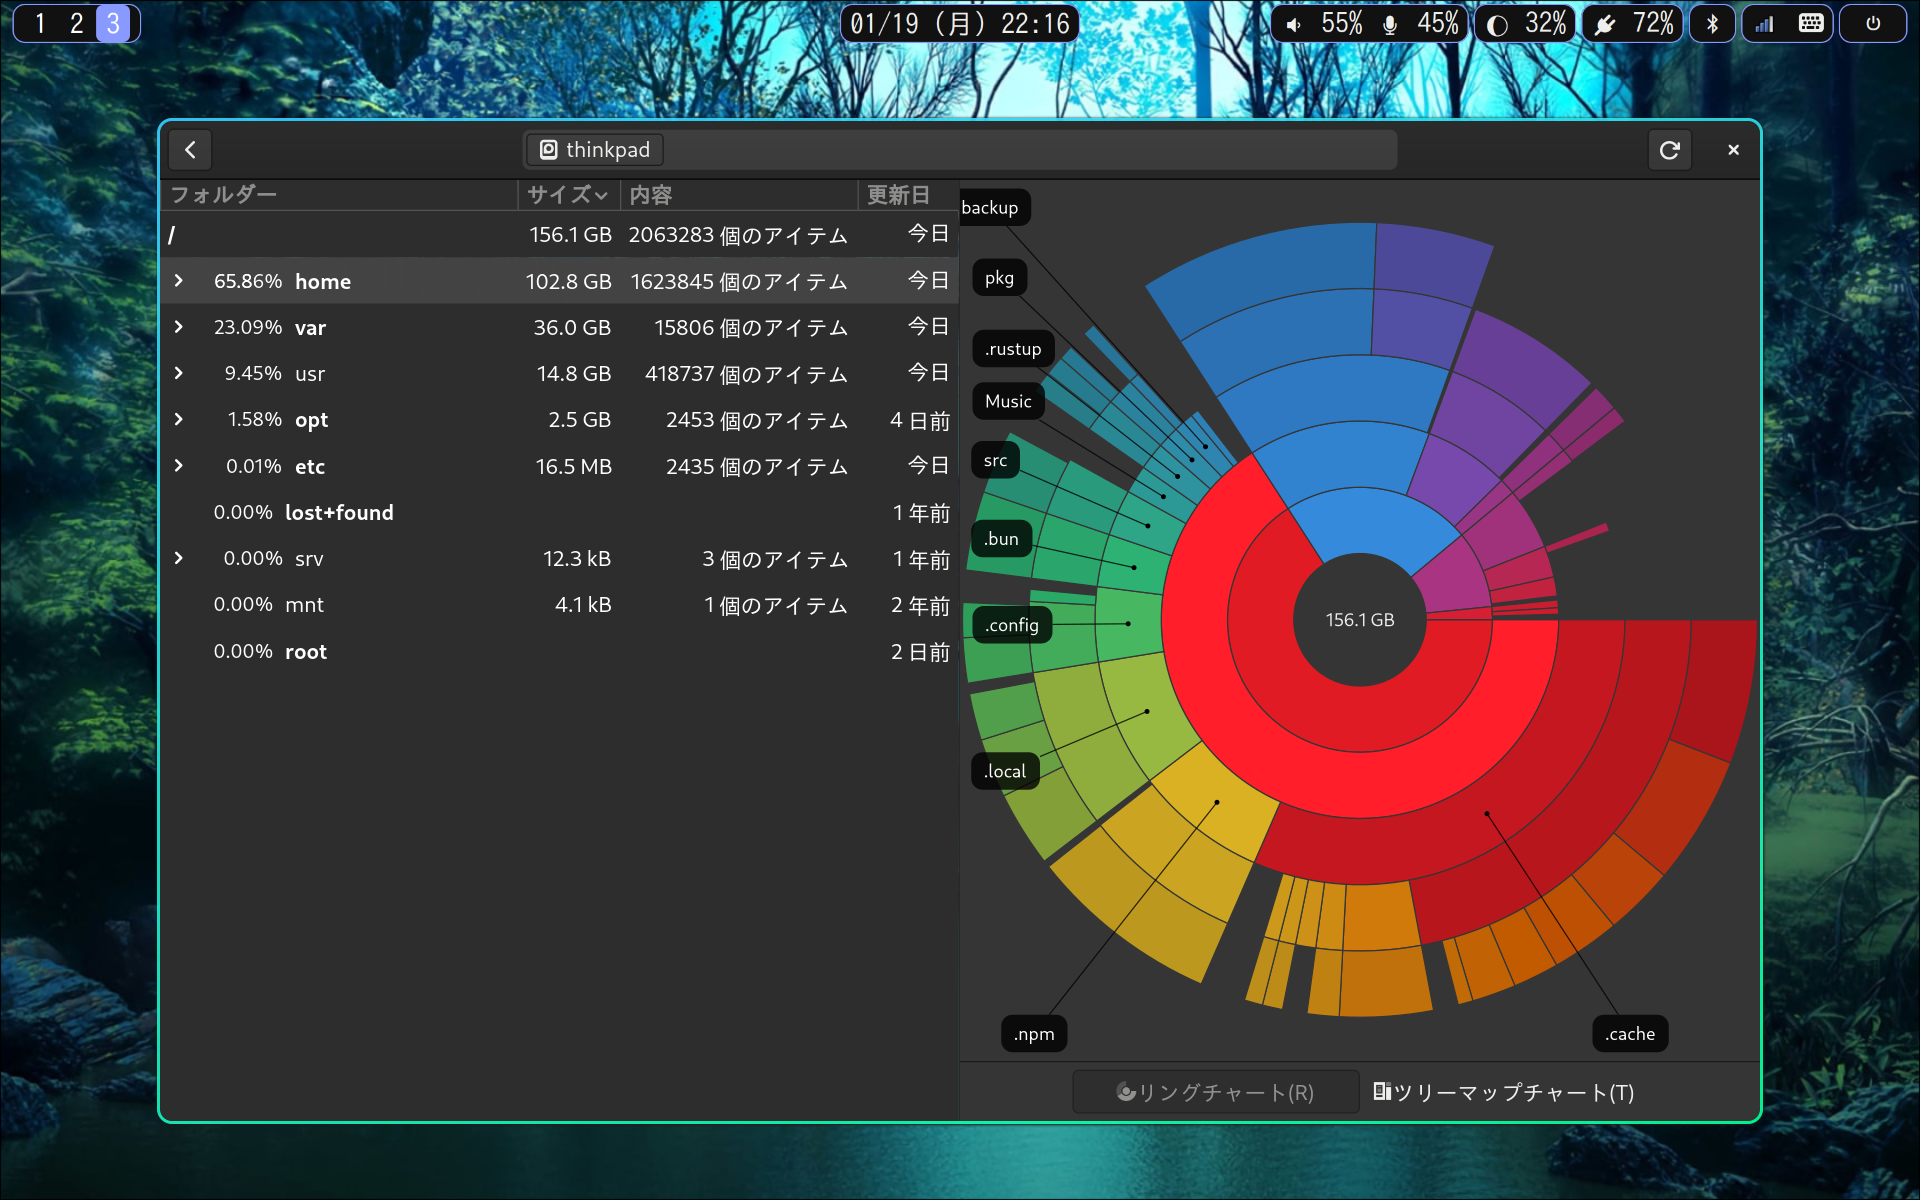
NVMe SSD has only 512G, but it is sufficient for the environment that uses arch linux and emacs.
Download Arch linux.
https://www.archlinux.org/releng/releases/
Create USB installation media. Run the following command, replacing /dev/sdx with your drive, e.g. /dev/sdb. (Do not append a partition number, so do not use something like /dev/sdb1)
sudo dd bs=4M if=/path/to/archlinux.iso of=/dev/sdx status=progress oflag=sync
4.1. USBメモリーで起動
Change it to boot from usb in BIOS UEFI.
[thinkpad x1 carbon gen6]
Security > Secure Boot: Disable
Config -> Sleep State: linux
Config -> Thunderbolt BIOS Assist Mode: Enabled
Security > I/O Port Access > Wireless WAN: Disable(for power save)
Security > I/O Port Access > Memory Card Slot: Disable(for power save)
Security > I/O Port Access > Fingerprint Reader: Disable(for power save)
Config -> Network -> Wake On LAN: Disabled(for power save)
Config -> Network -> Wake On LAN from Dock: Disabled(for power save)

[thinkpad x1 carbon gen10]
Security > Secure Boot: off
Config -> Sleep State: linux
Install archlinux
setfont solar24x32.psfu.gz
gdisk /dev/nvme0n1
Clear the partition
Command (? for help): o
Make ESP(EFI System Partition). Because I want to do UEFI boot, I make a FAT32 formatted partition.
Command (? for help): n
Permission number: 1
First sector     : enter
Last sector      : +512M
Hex code or GUID : EF00
Make swap(Since the memory is 16G, allocate more than that to swap).
Command (? for help): n
Partition number (2-128, default 2): enter
First sector (34-1953525134, default = 206848) or {+-}size{KMGTP}: enter
Last sector (206848-1953525134, default = 1953525134) or {+-}size{KMGTP}: +20G
Hex code or GUID (L to show codes, Enter = 8300): 8200
Set all the rest to / partition
Command (? for help): n
Permission number: enter
First sector     : enter
Last sector      : enter
Hex code or GUID : 8300
Format and mount with fat32 and ext4
mkfs.fat -F32 /dev/nvme0n1p1
mkfs.ext4 /dev/nvme0n1p3
mkswap /dev/nvme0n1p2
swapon /dev/nvme0n1p2
mount /dev/nvme0n1p3 /mnt
mkdir /mnt/boot
mount /dev/nvme0n1p1 /mnt/boot
mount | grep /mnt
Connect internet with wifi
ip link
rfkill list
rfkill unblock 0
iwctl
[iwd]# station wlan0 scan
[iwd]# station wlan0 get-networks
[iwd]# station wlan0 connect {SSID}
Install bese bese-devel of arch
pacstrap -K /mnt base linux linux-firmware vi
Make sure the nearest mirror is selected. Comment out the nearest mirror.
vi /etc/pacman.d/mirrorlist
Server = http://ftp.tsukuba.wide.ad.jp/Linux/archlinux/$repo/os/$arch
pacman -Syuu
Generate fstab
genfstab -U /mnt >> /mnt/etc/fstab
Mount and log in as bash login shell
arch-chroot /mnt
Set the host name
echo thinkpad > /etc/hostname
vi /etc/locale.gen
en_US.UTF-8 UTF-8
ja_JP.UTF-8 UTF-8
Next execute
locale-gen
Shell is in English environment
export LANG=C
This will be UTF-8
echo LANG=ja_JP.UTF-8 > /etc/locale.conf
Time zone example
ln -sf /usr/share/zoneinfo/Europe/Berlin /etc/localtime
ln -sf /usr/share/zoneinfo/Asia/Tokyo /etc/localtime
ln -sf /usr/share/zoneinfo/US/Pacific /etc/localtime
Time adjustment
hwclock --systohc
Generate kernel image
mkinitcpio -P
Generate user
useradd -m -G wheel -s /bin/bash ${USER}
Set password
passwd ${USER}
Set groups and permissions
pacman -S sudo
visudo
Uncomment comment out following
Defaults env_keep += " HOME "
%wheel ALL=(ALL) ALL
Install intel-ucode(install before boot loader)
pacman -S intel-ucode
Set boot loader
pacman -S grub efibootmgr
grub-install --target=x86_64-efi --efi-directory=/boot --bootloader-id=GRUB
grub-mkconfig -o /boot/grub/grub.cfg
4.2 ドライバとXorg Gnomeの準備
Install drivers that match your environment
lspci | grep VGA
pacman -S intel-media-driver libva-utils
pacman -S xorg-server xorg-apps
Gnome can be put as small as necessary
pacman -S gnome-backgrounds
pacman -S gnome-control-center
pacman -S gnome-keyring
pacman -S nautilus
Terminal uses urxvt and termite
pacman -S rxvt-unicode urxvt-perls
Enable graphical login with gdm
pacman -S gdm
systemctl enable gdm.service
Preparing the net environment
pacman -S networkmanager
systemctl enable NetworkManager.service
pacman -S otf-ipafont
Audio setting
pacman -S pipewire-pulse
exit
reboot
For thinkpad x1 carbon gen10
pacman -S sof-firmware fprintd
4.3. ホームディレクトリをアレンジするために${USER}でログインする。
Turn off autosuspend at config
urxvt -fn "xft:monospace-18" -fg white -bg black
sudo pacman -S xdg-user-dirs
LANG=C xdg-user-dirs-update --force
sudo pacman -S zsh git base-devel
sudo pacman -S noto-fonts noto-fonts-cjk
Install yay
mkdir -p ~/src/github.com
cd src/github.com
git clone https://aur.archlinux.org/yay.git
cd yay
makepkg -si
yay -S termite
4.4. ドットファイルの準備
sudo pacman -S gvfs gvfs-smb git-crypt gnupg openssh
Import the gpg key that has been backed up.
gpg --import /path/to/private.key
gpg --import /path/to/public.key
gpg --edit-key masasam@users.noreply.github.com
gpg> trust
Import the ssh key that has been backed up.
chmod 600 /path/to/private.key
Run the following after set the ssh key
mkdir -p ~/src/github.com/masasam
cd src/github.com/masasam
git clone git@github.com:masasam/dotfiles.git
cd dotfiles
git-crypt unlock
make rclone
make gnupg
make ssh
rclone sync drive:backup ${HOME}/backup
rclone sync dropbox:backup ${HOME}/backup
make install
make init
make chrome

# Below is for posting images of github
cd ~/Pictures
git clone -b image git@github.com:masasam/image.git
4.5. dconfの設定
sudo pacman -S dconf-editor

dconf write /org/gnome/desktop/input-sources/xkb-options "['ctrl:nocaps']"
dconf write /org/gnome/desktop/interface/gtk-theme "'Adwaita-dark'"
dconf write /org/gnome/desktop/interface/gtk-key-theme "'Emacs'"
dconf write /org/gnome/desktop/interface/text-scaling-factor 1.25
dconf write /org/gnome/desktop/interface/cursor-size 30
dconf write /org/gnome/desktop/interface/clock-show-date true
dconf write /org/gnome/desktop/interface/clock-show-weekday true
dconf write /org/gnome/desktop/interface/show-battery-percentage true
dconf write /org/gnome/desktop/wm/preferences/num-workspaces 1
dconf write /org/gnome/desktop/wm/keybindings/activate-window-menu "['']"
dconf write /org/gnome/desktop/search-providers/disable-external true
dconf write /org/gnome/desktop/privacy/remember-recent-files false
dconf write /org/gnome/shell/keybindings/toggle-overview "['<Alt>space']"
dconf write /org/gnome/mutter/dynamic-workspaces false
You can make install from here
Development environment install
Install using pacman
sudo pacman -S firefox firefox-i18n-ja fping xdotool jc
sudo pacman -S sylpheed emacs curl xsel tmux eog lhasa
sudo pacman -S zsh-completions keychain syncthing lzop
sudo pacman -S powertop gimp unrar gnome-screenshot zellij
sudo pacman -S file-roller xclip atool evince inkscape
sudo pacman -S seahorse the_silver_searcher zeal vimiv
sudo pacman -S cups-pdf htop neovim go pkgfile rsync elixir
sudo pacman -S nodejs whois nmap poppler-data ffmpeg gron
sudo pacman -S aspell aspell-en httperf asciidoc sbcl rye uv
sudo pacman -S gdb hub wmctrl gpaste pkgstats ripgrep pnpm
sudo pacman -S linux-docs pwgen gauche screen ipcalc rbw
sudo pacman -S arch-install-scripts ctags parallel opencv
sudo pacman -S pandoc texlive-langjapanese texlive-latexextra
sudo pacman -S shellcheck cscope typescript packer alacritty
sudo pacman -S noto-fonts-cjk arc-gtk-theme jq dnsmasq eza
sudo pacman -S zsh-syntax-highlighting terraform wl-clipboard
sudo pacman -S npm llvm llvm-libs lldb hdparm rxvt-unicode
sudo pacman -S mariadb-clients postgresql-libs tig lsof fzf
sudo pacman -S debootstrap tcpdump pdfgrep sshfs stunnel
sudo pacman -S alsa-utils plocate traceroute hugo mpv jhead
sudo pacman -S nethogs optipng jpegoptim noto-fonts-emoji
sudo pacman -S debian-archive-keyring tree rclone gnome-tweaks
sudo pacman -S mathjax strace valgrind p7zip unace postgresql
sudo pacman -S yarn geckodriver w3m neomutt iperf redis convmv
sudo pacman -S highlight lynx elinks mediainfo cpio flameshot
sudo pacman -S oath-toolkit imagemagick peek sshuttle lshw
sudo pacman -S bookworm ruby ruby-rdoc pacman-contrib ncdu
sudo pacman -S dart sxiv adapta-gtk-theme podman firejail
sudo pacman -S hexedit tokei aria2 discord pv findomain
sudo pacman -S gnome-logs qreator diskus sysprof bat mapnik
sudo pacman -S obs-studio wireshark-cli browserpass-chromium
sudo pacman -S editorconfig-core-c watchexec browserpass-firefox
sudo pacman -S man-db baobab ioping mkcert detox git-lfs xsv
sudo pacman -S guetzli fabric gtop pass github-cli libvterm ruff
sudo pacman -S perl-net-ip hex miller btop diffoscope dust yq
sudo pacman -S sslscan abiword pyright miniserve fdupes deno
sudo pacman -S serverless mold fx httpie bash-language-server
sudo pacman -S difftastic ollama ghq

Install using yay
yay -S beekeeper-studio-bin
yay -S downgrade
yay -S git-secrets
yay -S ibus-mozc
yay -S rgxg
yay -S rtags
yay -S slack-desktop
yay -S zoom
yay -S yay
Install using global python package
sudo pacman -S python-pip python-pipenv python-seaborn python-ipywidgets python-jupyter-client
sudo pacman -S python-prompt_toolkit python-faker python-matplotlib python-nose python-pandas
sudo pacman -S python-numpy python-beautifulsoup4
Install using golang
mkdir -p ${HOME}/{bin,src}
go install golang.org/x/tools/cmd/goimports@latest
go install github.com/kyoshidajp/ghkw@latest
go install github.com/simeji/jid/cmd/jid@latest
go install github.com/jmhodges/jsonpp@latest
go install github.com/mithrandie/csvq@latest
Install using global pnpm package
pnpm -g add vite
pnpm -g add cloc
pnpm -g add dockerfile-language-server-nodejs
pnpm -g add firebase-tools
pnpm -g add fx
pnpm -g add heroku
pnpm -g add indium
pnpm -g add logo.svg
pnpm -g add jshint
pnpm -g add @marp-team/marp-cli
pnpm -g add mermaid
pnpm -g add @mermaid-js/mermaid-cli
pnpm -g add netlify-cli
pnpm -g add ngrok
pnpm -g add now
pnpm -g add prettier
pnpm -g add parcel-bundler
Kubernetes
docker
sudo pacman -S docker docker-compose
sudo usermod -aG docker ${USER}
sudo systemctl enable docker.service
sudo systemctl start docker.service
Google Kubernetes Engine
curl https://sdk.cloud.google.com | bash
test -L ${HOME}/.config/gcloud || rm -rf ${HOME}/.config/gcloud
ln -vsfn ${HOME}/backup/gcloud   ${HOME}/.config/gcloud
sudo pacman -S kubectl kubectx kustomize helm
yay -S stern-bin
kind(Kubernetes IN Docker)
go install sigs.k8s.io/kind@v0.24.0
sudo sh -c "kind completion zsh > /usr/share/zsh/site-functions/_kind"
minikube with kvm2
sudo pacman -S minikube libvirt qemu-headless ebtables docker-machine kubectx
yay -S docker-machine-driver-kvm2
sudo usermod -a -G libvirt ${USER}
sudo systemctl start libvirtd.service
sudo systemctl enable libvirtd.service
sudo systemctl start virtlogd.service
sudo systemctl enable virtlogd.service
minikube config set vm-driver kvm2
rbenv
yay -S rbenv
yay -S ruby-build
rbenv install 3.1.4
Install rust and language server
sudo pacman -S rustup
rustup default stable
rustup component add rls rust-analysis rust-src
Terminal
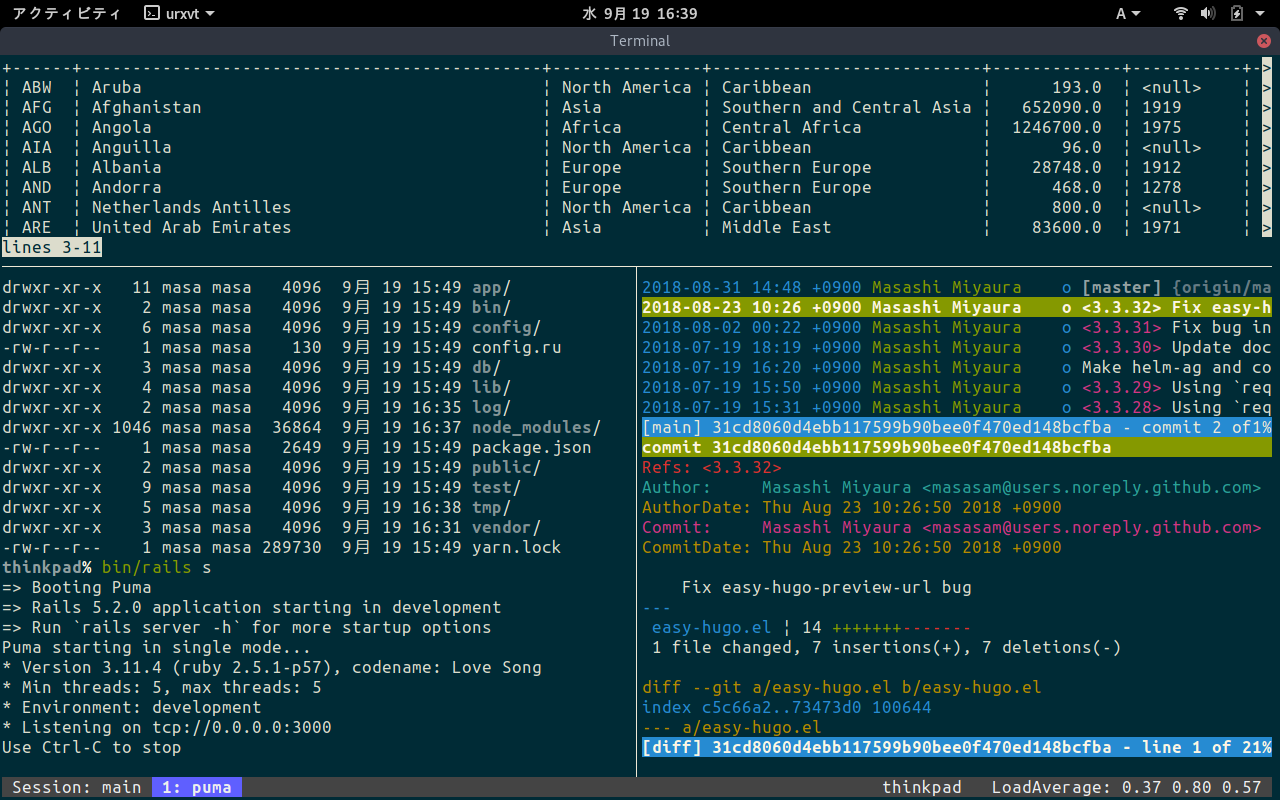
Terminal uses urxvt
TLP
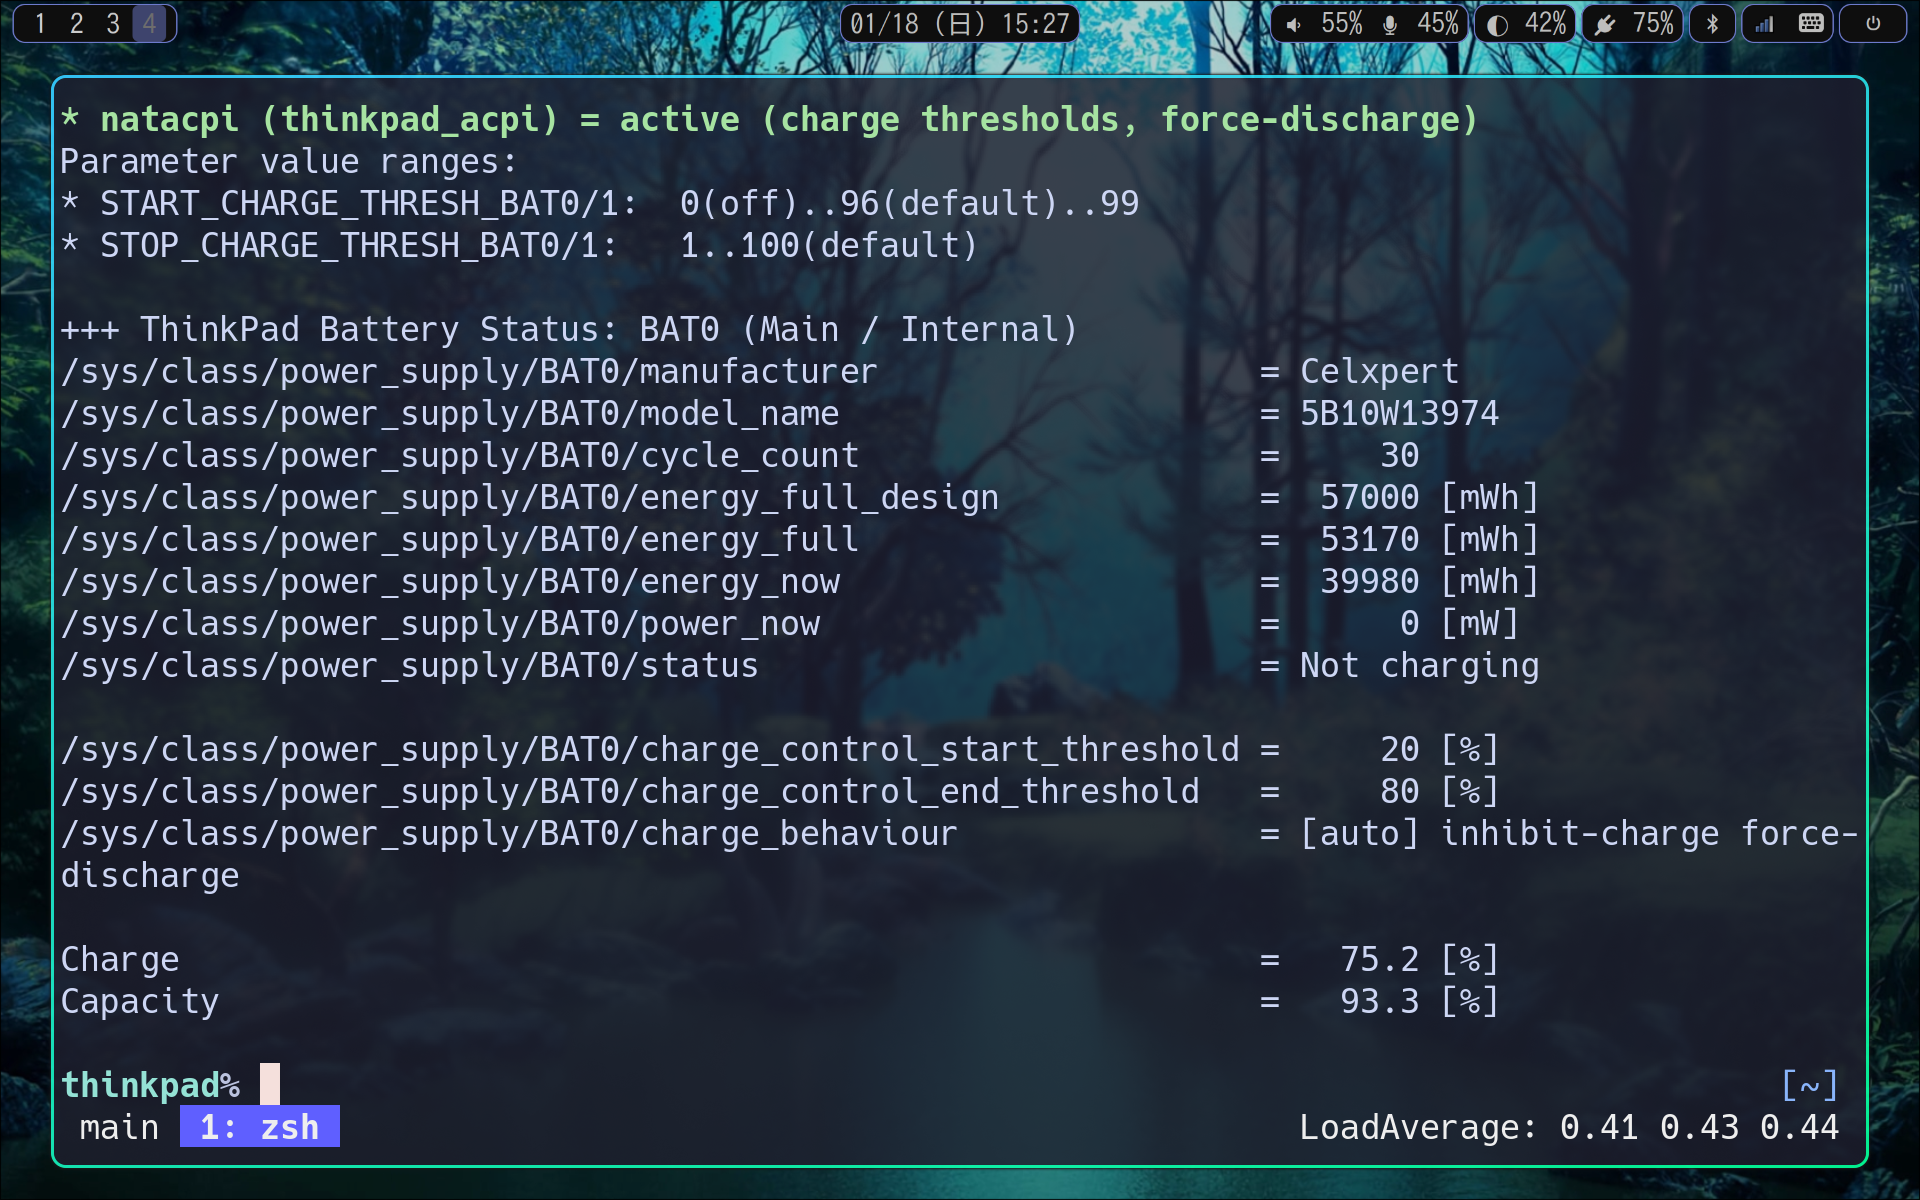
Setting for power save and to prevent battery deterioration.
sudo pacman -S tlp powertop
sudo ln -vsf ${PWD}/etc/tlp.conf /etc/tlp.conf
systemctl enable tlp.service
UEFI BIOS update with Linux
sudo pacman -S fwupd dmidecode
sudo dmidecode -s bios-version
fwupdmgr refresh
fwupdmgr get-updates
fwupdmgr update
Enable DNS cache
Install dnsmasq
sudo pacman -S dnsmasq
/etc/NetworkManager/NetworkManager.conf
[main]
dns=dnsmasq
When restarting NetworkManager, dnsmasq is set to be automatically usable.
sudo systemctl restart NetworkManager
Mozc
ibus-mozc
Make input sources mozc only for region and language. My key setting is based on Kotoeri (closest to emacs key binding).
「Input before conversion」「Shift+Space」「Disable IME」 「Converting」「Shift+Space」「Disable IME」 「Direct input」「Shift+Space」「Enable IME」 「No input character」「Shift+Space」「Disable IME」 Delete other Shift-space entangled shortcuts. 「Converting」cansel Ctrl-g
reboot
Once mozc is set up
ln -sfn ~/backup/mozc ~/.mozc
And set the mozc setting to backup directory. With this it will not have to be set again.
ibus-setup
Open the emoji tab Since
How to test Makefile
When using Makefile
Test this Makefile using docker
make test
Test this Makefile using docker with backup directory
make testbackup
When executing manually
1.Build this Dockerfile
docker build -t dotfiles /home/${USER}/src/github.com/masasam/dotfiles
2.Run ‘docker run' mounting the backup directory
docker run -t -i -v /home/${USER}/backup:/home/${USER}/backup:cached --name arch dotfiles /bin/bash
3.Execute the following command in the docker container
cd /home/${USER}/src/github.com/masasam/dotfiles
make install
make init
